Related Products
 The use of pigments by Aboriginal peoples of the world pre-dates recorded history. Like many other cultures, the Indians of North America valued earth pigments as sacred materials with which they infused their art into everyday objects such as parfleche and other rawhide items. Trade for pigments among tribes and later with European traders expanded their palette of colors. The art of Sand Painting among tribes in the Southwest took advantage of the great geologic range of natural colors in their environment. With the broad selection of pigments we offer, it is possible to rediscover these beautiful art forms.
Paint for Buckskin and Leather
Ingredients
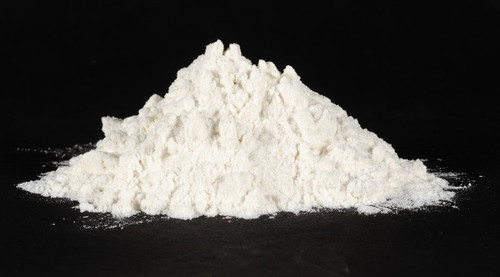
- 300 grams (10.5 oz) Gum Arabic powder
- 3 drops Clove Oil
- 1 liter (2.1 pints) boiling water
Ratios are 1 part gum to 2 parts water. Boil water and pour over the powdered gum, stirring to make sure there are no lumps. Add drops of Clove Oil to retard spoilage. Allow the mixture to soak 24-48 hours for full absorption.
Mix all the ingredients to obtain a paste with a thick, creamy consistency. You may wish to strain this mixture through cheesecloth. Transfer your paints to saucers for painting and mixing with dry pigments. Our Clamshell Dishes are perfect for this purpose. When creating your initial gum, you may wish to add glycerin as a plasticizer to prevent cracking and brittleness. The ratio would be 1 part glycerin or less by volume to 5 parts of your prepared gum solution. Add the glycerin after gum has been completely dissolved but while still warm. Back to Top
Painting on rawhide, bone and wood
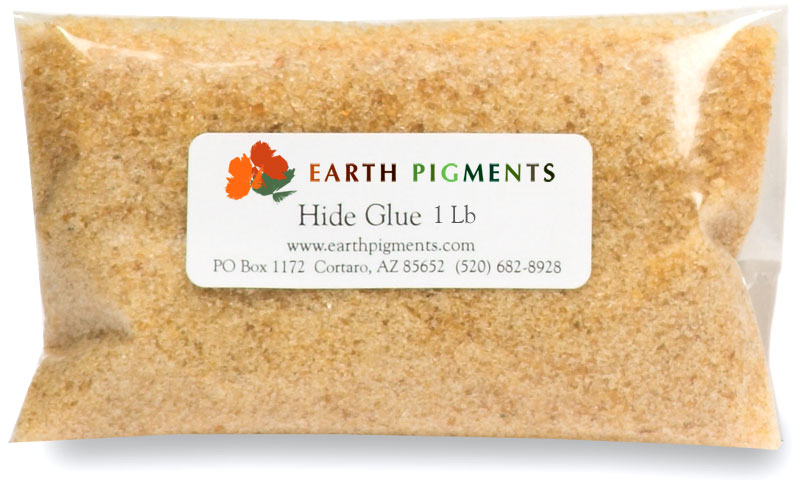
Hide glue is all-natural, non-toxic and non-flammable glue, well suited for use on bone, wood, rawhide, buckskin, leathers and other natural materials. It can be used for general gluing, and for mixing with natural pigments for painting.
Tools you will need to prepare glue and paint
- Pyrex dishes or other heat resistant containers to use as pots to heat and mix your glue or paints for applications. Especially nice when mixing glue with several paint colors for one project.
- Pan large enough to fill with water for heating your paint and glue pots, (this is the "double-boiler" method).
- Applicators for glue or paint such as stiff bristle brushes, a stylus, or modified bone brushes for painting on rawhide.
- Plastic spoons or wooden Popsicle sticks for stirring.
- Thermometer suitable for cooking applications - such as a candy or meat thermometer. (Once used for glue, do not use it again for food.)
Ratios for glue and glue & paint mixtures These ratios are starting guidelines. Each artist may develop a technique and ratio unique for their particular application. Glue for general gluing 1-part glue granules to 1-part water Glue to mix with natural pigment for painting Thin: 1-part glue granules to 2-parts water gives a basic paint suitable for painting on rawhide where you may want a more translucent color without the texture. The low water ratio is given to allow for further lengthening with water during application. However, you may wish to use as much as 10 parts water to 1 part glue depending upon technique. Thick: 1-part glue granules to 1-part water gives a very thick opaque texture paint similar to the look of acrylic. Not recommended for flexible surfaces.
Preparing glue
- Add the measured glue granules to the correct amount of cool clear water in your glue pot and soak for ½ hour.
- Fill a pan large enough to set your glue pot into with water. (This arrangement will act as a "double boiler" and help keep your glue from overheating. Do not place the glue pot directly on your stove or fire.) Heat the water pan to a boil and remove it from the heat. Place your glue pot in the hot water and stir the glue mixture until the granules melt.
- It may be necessary to place the pan back on LOW heat in order to reach the correct temperature of 140-150ºF. It is important that you DO NOT OVERHEAT the glue.
Your glue is now ready to use, or mix with natural pigments for painting. When in use, your glue must remain at 140-150ºF. The glue mixture can remain at this temperature for as long as 8-10 hours if covered when not in use to prevent the evaporation of water. Allowing glue to cool and reheat over and over is not recommended as the glue weakens with each reheating. To make glue more flexible, you may wish to add glycerin at this point before adding pigments in a ratio of 20% (or less) to the weight of your prepared glue.
Preparing a natural pigment paint/glue mixture Measure enough hot glue into your application dish for the area to be painted. Remember that a little goes a long way. Add pigment in small ratios to hot glue until desired color is achieved. Stir well to make a smooth mixture. At this point you may wish to add a drop or two of Clove Oil. Not only does this impart a pleasant smell, it also retards the growth of mold or bacteria in prepared paints and the finished product.
Painting Techniques During the painting process it may be necessary to re-heat your paint to keep it warm and prevent separation. If necessary, place your paint mixture back in the pan of hot water and stir. Dip your applicator lightly and only apply a very small amount of paint at a time to achieve the look you want, (your mixture will go a long way so always start with a small amount on your applicator). While painting, use a separate container of hot water to dip your applicator into to help spread the paint and dilute it as it is applied. To hold paints while working, we suggest our Clamshell Painting Dish Set found in the Accessories section of our online store. Held in the palm of your hand, they hold just the right amount of glue to mix with each pigment color.
For painting on rawhide, a thin application is best as it will be more translucent with little or no texture. Stiff brushes or other stiff applicators are used to apply the paint and actually work it down into the surface of the hide. We feature a brush set especially selected for this purpose, available in our Accessories section here online.
Many authentic old rawhide items were painted when the hide was staked out and wet, allowing the natural glues in the hide to mix with the pigments. Since most modern applications are done with dry rawhide, a paint and hide glue mixture will obtain a similar result.
When dry, your painting can be finished by sizing it with a spray varnish, or a very weak glue mixture to further seal and give it a sheen. However the glue mixed with the paint should produce a colorfast application. Note: It is best to mix only enough paint for a single painting session. While a paint mixture can be stored and reheated, subsequent reheating will weaken the glue in the mixture so this is not recommended. Back to Top
Staining with Dry Pigment Powders
Buckskin has also traditionally been stained or colored with dry pigment powder. To use dry, the color is rubbed into the buckskin (a scrap piece is useful for this). After the desired color has been achieved, the excess must be removed by continually rubbing until it no longer sheds color. This is the traditional method. To fix the color permanently with a modern method, it is recommended that a spray fixative such as those for charcoal drawings be used to set it. Once dry it will not be detectable.
The Ancient art of sand painting is a form of religious expression of the Indians of the Greater Southwest and has been done in other forms by many indigenous people around the world who live close to nature. In its original form, Sand Paintings were created to exist only a few hours. But a movement by Native Americans in the latter half of the 20th Century created permanent Sand Painting as an art form. You can find many resources for Sand Painting techniques online and in books. Here we offer some additional techniques for working with sand you have colored yourself using powdered pigments.
Ingredients
- 1 cup Craft Sand
- 1 teaspoon pigment
Craft sand that has already been washed and specifically chosen for its fine grain can be mixed with one or more colors of pigment to create natural, vibrant colors. Place sand in a glass jar and add the desired amount of pigment. The amount given is only an approximation. Shake vigorously to coat. The use of a glass jar instead of plastic helps minimize the amount of pigment that sticks to the sides of the container rather than to the sand.
Since pigments are not dyes, their fine 50 micron size mixes with the sand to coat it, but does not actually dye it. Therefore this is not a colorfast application. However, coloring sand by hand and choosing single or combinations of pigments gives you an infinite range of colors that cannot be matched by store bought craft sand. Because the pigment can transfer, we do not recommend this recipe for children's sand art.
Tips for sandpainting
- Work with only one sand color at a time. Finish all areas of that color before proceeding to a new color.
- Once a color has been completed, allow it to dry completely before starting a new color.
- It is preferable to do dark colors before light ones.
- Upon completion of all colors, you may notice some powder or sand has invaded other areas of a different color. The use of a can of compressed spray air, such as that used to clean computers (found in Office Supply) will blow this excess off once all areas are completely dry. Compressed air is also useful for dusting and cleaning sand paintings.
- When complete, spray your sand painting with a charcoal spray fixative to finish.