Lime Patina and Limewash Recipes
This how-to covers the basic principles for preparing and applying limewash, along with recipes for the Primer coat, Wash coat and Patina coat.
This article contains two recipes: one using dry lime powder, and one utilizing wet lime putty. Lime Putty refers to wet lime in a bucket. This includes both pit lime from a factory and Hydrated Lime Powder that has been slaked by the consumer.
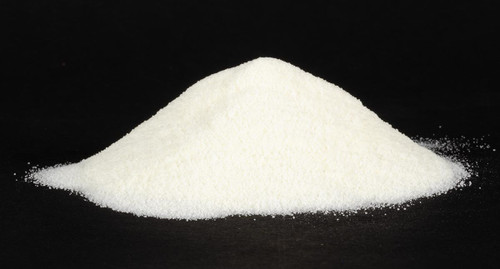
Hydrated Lime should be a bright white powder, not more than two years old.
Lime Putty should be stored in a sealed bucket with at least 1 inch of water on top of the putty to protect it from exposure to the air. In cases where the substrate is very tightly bound, or when the greatest transparency is desired, factory produced Lime Putty is preferable over powdered lime.
For lime to properly adhere to a surface the two must be:
- Chemically compatible
- Mechanically compatible
When it is chemically compatible, lime will not adversely react with the surface, causing the two to separate, (the lime flakes or falls off). When mechanically compatible there is sufficient porosity and texture – often referred to as "key" – to allow the lime crystals to expand, "lock" onto and penetrate the surface.
Limewash has rigid requirements when it comes to suitability with a surface because it is a thin coating. As with lime plasters, the supporting surface must be able to withstand a pH of 12 or more.
Surfaces suitable for limewash include:
- Lime
- Lime plaster and renders
- Lime and cement based mortars and renders that have proper tooth and porosity
- Previously lime washed supports
- Masonry supports such as, brick, stone, terra cotta (mud) and cement block
Surfaces that are unsuitable for limewash:
- Asbestos cement (chemically incompatible)
- Dry wall (porosity inconsistencies and chemical incompatibility)
- Hard troweled renders and plasters (too hard for lime crystals to penetrate for bonding)
- Gypsum Plasters and products (chemically incompatible)
- Previously painted or sealed surfaces (lack of porosity, chemically incompatible)
- Smooth surface or nonporous surfaces (no porosity, no room for lime crystals to penetrate for bonding)
- Wood (too high in PH, will cause wood grain to swell)
Alternative for Unsuitable Surfaces
Commercially prepared acrylic reinforced lime washes with compatible primers are often the only alternative for surfaces such as previous paint. Gypsum plasters are not compatible with lime wash, but they can accept Casein based paints such as Milk Paint and Casein Borax Paint. These paints are translucent and can create the matte appearance of lime wash.
Proper Atmospheric Conditions for Application
Conditions for application are the same as for lime renderings. Proper temperature and humidity are required for the carbonation process to be successful – the most critical period for carbonation is the first two to three days.
- Ambient temperature should not be below 41 ºF (46 ºF for dark colors) at any time during the application or carbonation process. Do not allow freezing to occur.
- In temperatures above 86 ºF or in very low humidity, surface and subsequent coatings must be misted with water.
- Exterior coatings should be protected from wind and sun to protect it from drying too quickly. An opaque covering such as damp canvas or burlap works particularly well.
- Surfaces must not have a surface temperature below 41 ºF (46 ºF for dark colors) and must not be excessively hot or excessively wet.
Preparing Suitable Surfaces (Lime and Masonry)
First, the surface must be fully set. Very smooth surfaces that don't have enough tooth (roughness) for the lime to bond with may require texturing with medium abrasives or a wire brush. Dust and loose debris should be removed by brushing or dusting, and then washing.
Second, the surface must be assessed for the proper dampness. A light dampness is desired – too much moisture on the surface will interfere with cling and coverage. Dampness can be influenced by the porosity of the surface, as well as humidity and temperature. It shouldn't absorb the primer, wash or patina coat so quickly that it dries almost immediately after being applied. It also may be necessary to mist before subsequent coats are applied. Misting, (prewetting) can easily be accomplished using a plastic spray bottle, pump sprayer or, on exterior projects, a garden hose with a suitable mist nozzle.
For mixing, use a plastic bucket with lots of "headroom". Since lime is caustic, it can cause "burns" to skin and eyes. Make sure you wear suitable clothing, (long sleeved shirt & long pants, cover-alls, etc.) rubber gloves, shoes and eye protection.
Slowly add powders, (lime, pigment or additive) to water, not water into powder to minimize dust. Avoid inhaling airborne powder during mixing and USE A DUST MASK! Mix only the amount of limewash to be used in one day. Larger quantities should be mixed with a paint paddle mounted to an electric drill.
Additives (Binders) for Enhanced Adherence
Within the limewash recipes, there are suggestions for additives (additional binders) to enhance the adhesion of limewash. They won't alter the appearance or breathability of a limewash, and since they provide additional insurance your limewash will be successful are highly recommended. One important rule: always add the same ratio of additive for each successive coat. Additives are important in exterior applications due to weather exposure. Additives are important in interior applications as well as a limewash that powders off in an interior space is not healthy.
Application Techniques
Choose brushes made specifically for limewash, or a 4" Poly/Nylon paint brush. A sponge can also be helpful to apply patinas and soften brush marks if desired. Lime is hard on tools – be sure to rinse all brushes thoroughly after use and hang to dry as the metal of the ferrule will be prone to rust. You may need to "retire" several brushes over the course of a large project.
Lime and/or pigment particles will NOT remain suspended in water for long and MUST be frequently agitated. This is very important! During application of the Primer Coat, a paint stir-stick should be used at regular intervals. During application of wash or patina coats it is best to transfer portions of your freshly agitated mixture to a shallow container so that your brush bristles can touch the bottom and with each pass of the brush you can sweep the lime and pigment particles back up into suspension.
Lime wash should be worked down into the surface using a brush in a cross-hatch motion (also known as figure eight or butterfly.) This creates a more pleasing appearance than using a simple up and down motion with the brush. Brush marks can be left on the surface for added interest, or can be blended with the brush or by the use of a damp sponge. Sponges can also be used to apply a different color to specific areas, usually in the Patina Coat.
Several thin coats are the key to success – never apply too thick. For exteriors, 5 coats are recommended. For interiors, 3 coats or less depending upon the effect desired.
Fresco Application Technique
In the Fresco technique, limewash is painted onto fresh, set, wet plaster. This technique requires that the surface be hardened enough so as not to deteriorate as it is being brushed, but not too dry as to inhibit proper adhesion of pigments with the lime in the surface. Technique and climatic conditions play a major factor in application success. Read a detailed discussion of the Fresco Technique.
Limewash Recipes Using our High Calcium Hydrated Lime
This limewash recipe is broken down into three parts: a Primer Coat, a Wash Coat, and a more translucent Patina Coat.
Primer Coat
- 20 parts water
- 1 part Hydrated Lime
Wash Coat
- 6 quarts water
- 1 kilo Hydrated Lime, (approx. 1½ quarts by volume)
- Up to 500g Ocher or Pigment
- Additive¹
Coverage estimate is 110 sq feet dependent upon absorbency of substrate.
Patina Coat
- 12 quarts water
- 1 kilo Hydrated Lime, (approx. 1½ quarts by volume)
- 800g Ocher or Pigment
- Additive¹
Coverage estimate is approximately 220 sq feet.
Limewash recipes using Lime Putty
This limewash recipe is broken down into three parts: a Primer Coat, a Wash Coat, and a more translucent Patina Coat.
Primer Coat
- 12 parts water
- 1 part Lime Putty
Wash Coat
- 1 quart water
- 1 kg Lime Putty
- Pigment²
- Additive¹
Patina Coat
- 2 quarts water
- 1 kg Lime Putty
- Pigment³
- Additive¹
Recipe Notes
1. Additives are used to promote adhesion of the wash or patina coats, (you must use the same additive for all coats of Wash and Patina).
- Boiled Linseed Oil: ½ cup, OR
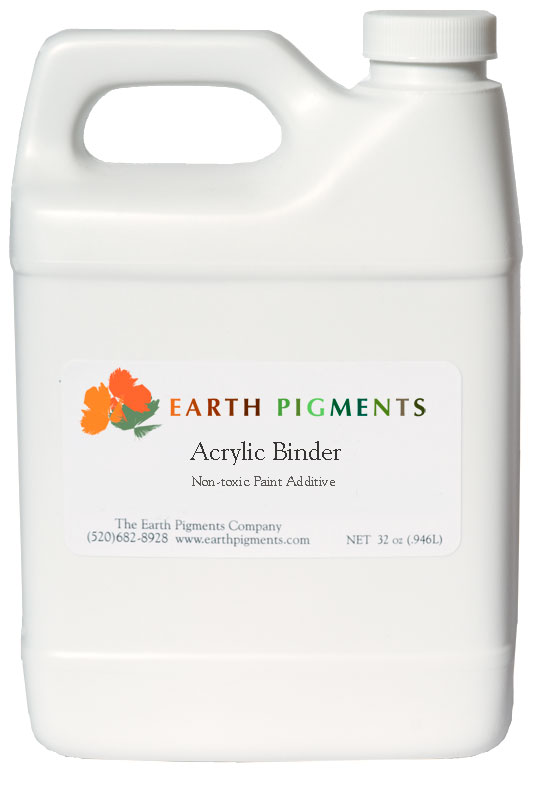
- Earth Pigments Acrylic Binder: ½ cup, OR
- Casein Powder 100g (interior only)
2. Pigment amounts when using Lime Putty (Wash Coat Only):
- Natural Earth and Ochers: up to 250 grams
- French Mineral Pigments: up to 250 grams
- Oxide Pigments: up to 150 grams
3. Pigment amounts when using Lime Putty (Patina Coat only):
- Natural Earth and Ochers: up to 500 grams
- French Mineral Pigments: up to 500 grams
- Oxide Pigments: up to 300 grams
The subject of lime coatings is more extensive than is presented in this short article but we hope this information will help you understand the basics. Application techniques, variations in lime types, and the many possible visual effects make limewash a fascinating topic for further research and experimentation.


